

Setting Up Ubuntu for Beginners: A Developer's Starter Guide
Your First Steps: Ubuntu for Coding Beginners


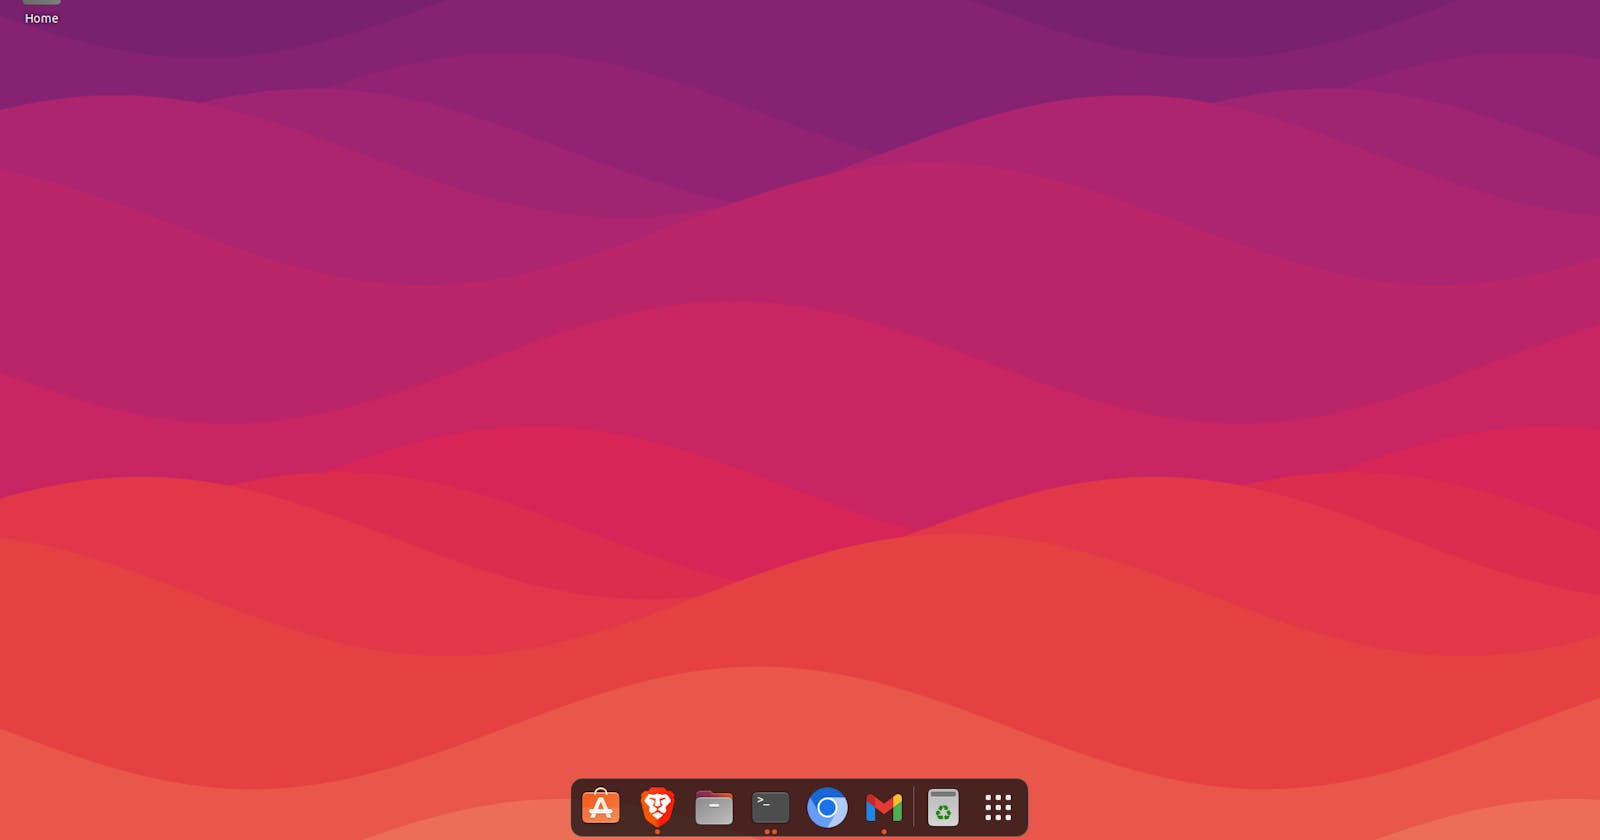
Table of contents
- 🚀 Introduction:
- 🌐 Why Choose Ubuntu (Linux) Over Windows?
- Guide to Basic Linux Setup and Configuration for Improved Developer Experience
- 📂🖥️ Step 1 - Installing the Ubuntu ISO Image and Creating a Bootable Pendrive. 🚀🔧
- ⚙️🔍 Step 2 - General Installation of Ubuntu. 🌐💽
- 🔄🚀 Step 3 - System Update and Upgrade. 🌟🔍
- 🎨🖥️ Step 4 - Customising the Terminal Appearance
- 🚀🔧 Step 5 - Install GNOME Shell Extension for system theming and important tools.
- 📦🚀 Step 6 - Install package manager - snapd
- ✨🔐 Conclusion
🚀 Introduction:
🐧 Ubuntu is a Debian-based Linux distribution, primarily composed of free and open-source software. Its popularity stems from its stability and user-friendly GUI interface, making it an intuitive choice for those transitioning from Windows. 🌐✨
🌐 Why Choose Ubuntu (Linux) Over Windows?
It offers high security and stability while consuming minimal disk space.
Ubuntu is open source, providing a better (than free) alternative with a large community to support users compared to other distributions.
Guide to Basic Linux Setup and Configuration for Improved Developer Experience
In this guide, we'll walk you through the fundamental steps of setting up and configuring Ubuntu, focusing on customisation to enhance your overall development experience rather than delving into detailed installation steps. 💻🔒
📂🖥️ Step 1 - Installing the Ubuntu ISO Image and Creating a Bootable Pendrive. 🚀🔧
⚙️🔍 Step 2 - General Installation of Ubuntu. 🌐💽
🔄🚀 Step 3 - System Update and Upgrade. 🌟🔍
sudo apt-get update or sudo apt update
sudo apt upgrade
sudo apt autoremove
Below is the command of important packages.
sudo add-apt-repository universe && sudo add-apt-repository multiverse

sudo apt install git nano vim btop neofetch wget curl xclip
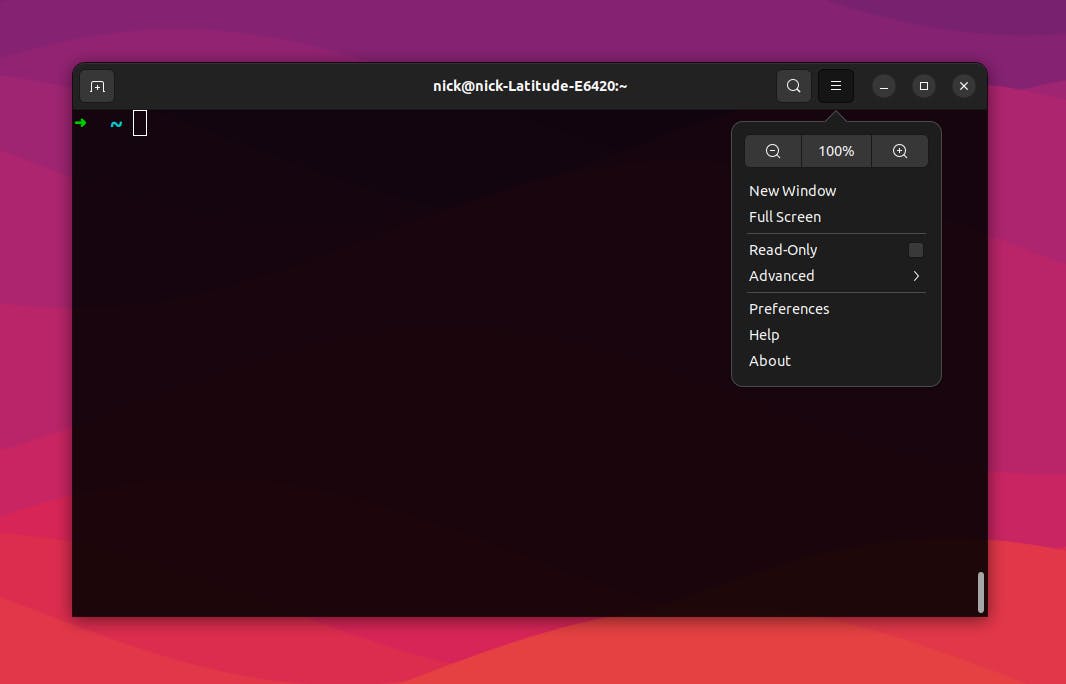
🎨🖥️ Step 4 - Customising the Terminal Appearance
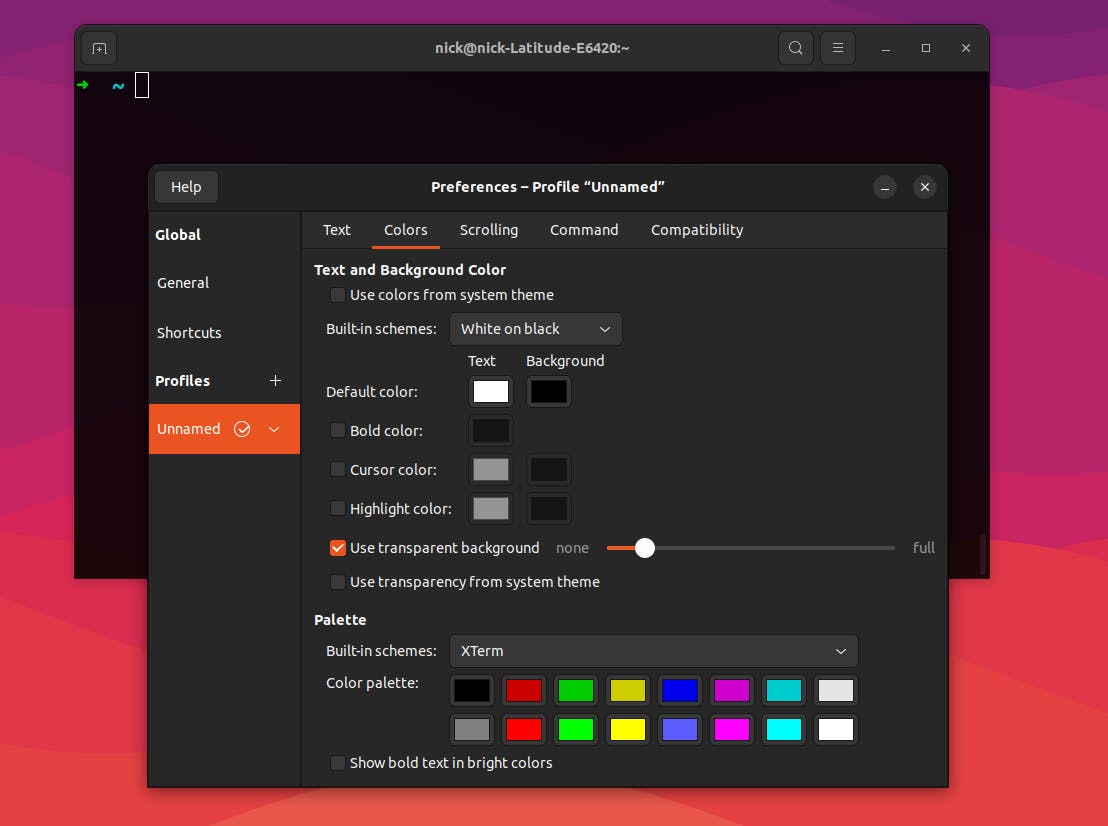
To give your terminal a more professional look by changing the color from pink to black, follow these steps:
Open the terminal and select the 'Settings' tab.
Choose the 'Preferences' button.⚙️🌈
Click on the tab below the profile, select the 'Color' tab, and change the default color of the terminal to black.
Optionally, make the background of the terminal slightly more transparent to enhance its attractiveness. 🚀🎨
With this initial configuration, you're all set for a more personalized and productive Ubuntu development environment.
🚀🔧 Step 5 - Install GNOME Shell Extension for system theming and important tools.
A GNOME Shell Extension is essentially a small piece of code that enhances the capabilities of the GNOME desktop. Similar to a browser add-on adding extra features to the browser, a GNOME extension provides additional features to the GNOME desktop environment.
These extensions are designed for specific tasks such as displaying weather conditions, internet speed, etc., mostly accessible in the top panel.
Install the following package to unleash the power of GNOME Shell extension. For more details, refer to the official documentation at https://extensions.gnome.org/. 🚀🔧
sudo apt install gnome-tweaks gnome-shell-extensions
Visit the website below to install the extension in your Chrome or Brave browser: https://extensions.gnome.org/?ref=itsfoss.com
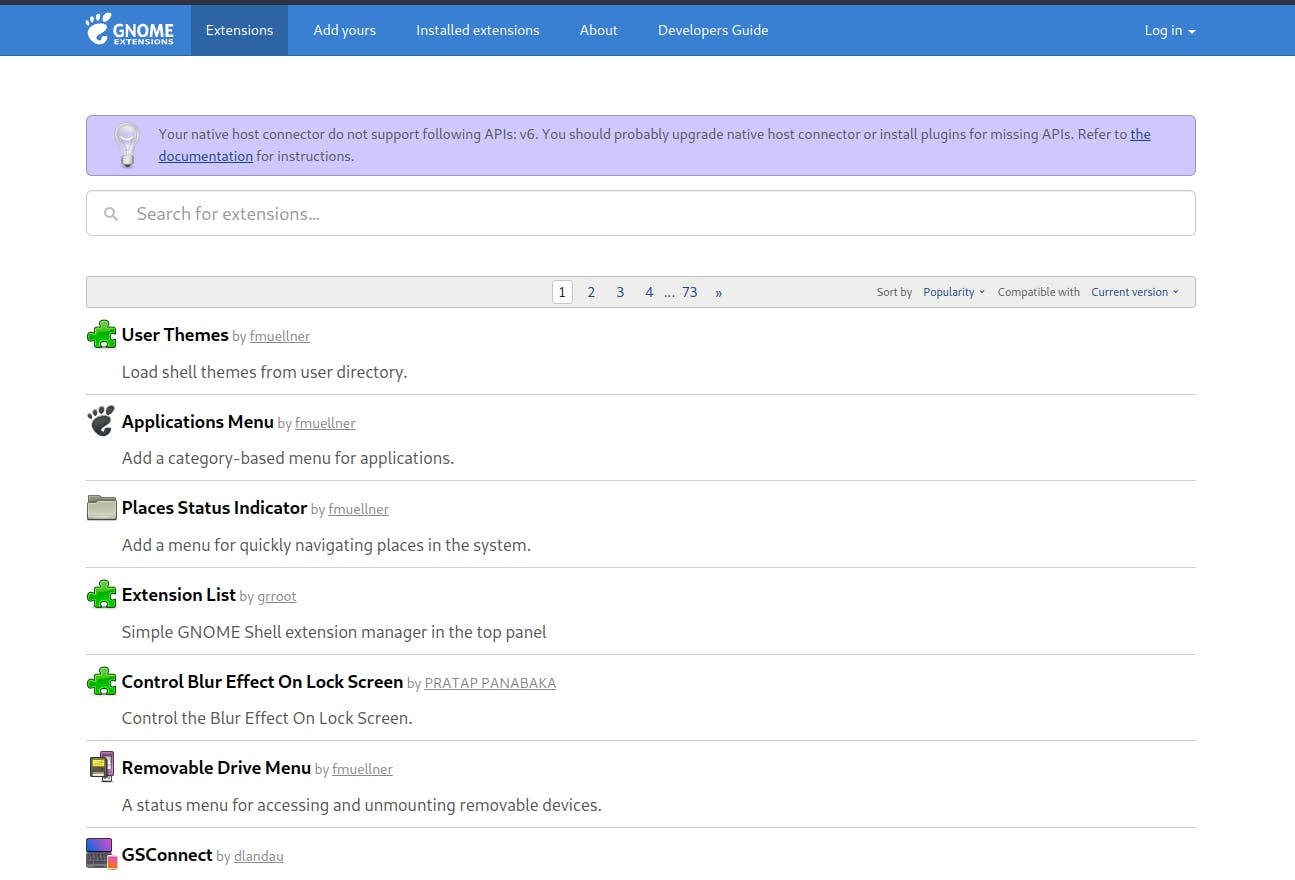
Here are some suggested extensions to boost your productivity:
Blur my shell
Internet speed meter.
Use Themes
Extension List
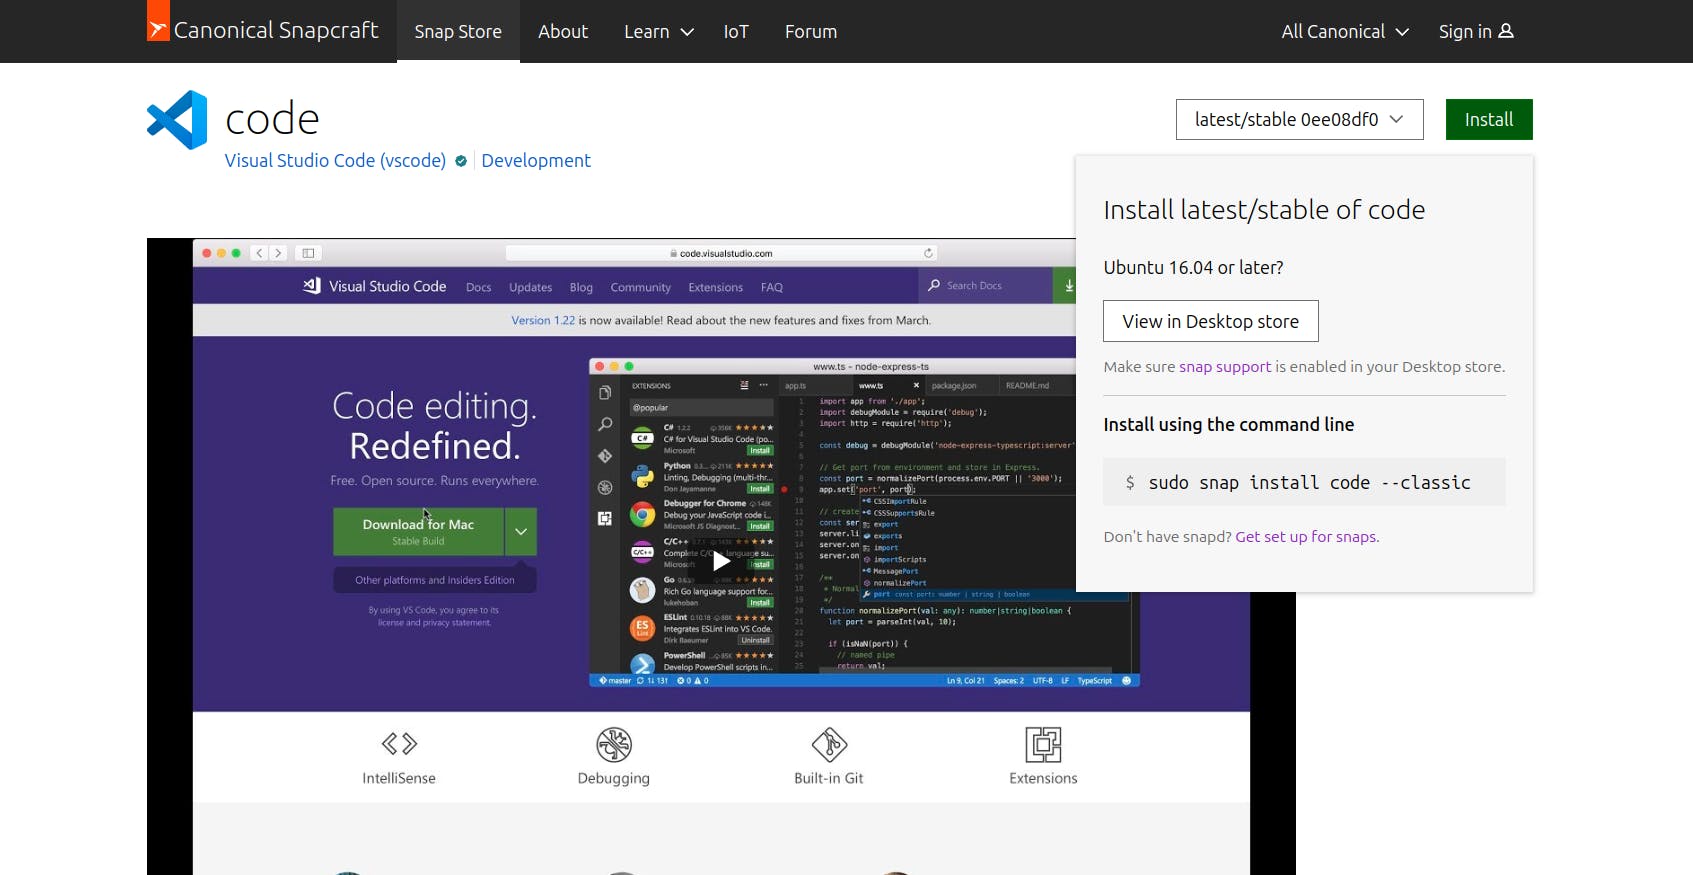
📦🚀 Step 6 - Install package manager - snapd
Snaps are universal Linux packages that enable you to install software on any Linux distribution as if you were using a regular app store, such as the Apple App Store or Android Play Store.
Refer to the official documentation of snapd here: https://snapcraft.io/docs/installing-snap-on-ubuntu and install the required packages from here.
sudo apt update
sudo apt install snapd
Now, install any package from snapd
sudo snap install code --classic
sudo snap install brave
sudo snap install gmail-gui
✨🔐 Conclusion
Congratulations! You have successfully installed and configured your Ubuntu for development productivity.
If you're a developer, exploring Ubuntu or another Linux distribution is a decision you won't regret. Unleashing the power of open-source development and embracing Linux might just be the transformative step your workflow has been waiting for.